 With full arch dental implants, a strong surgery doesn’t guarantee a strong outcome. The result your patient lives with depends on how accurately the implant positions are captured and whether the final prosthesis seats passively.
That makes your dental implant lab a deciding factor, not a supplier at the end of the chain.
With 8% of Canadians aged 60 to 79 having no natural teeth (2022 to 2024) and declining gum health among Canadian adults, a fixed arch is a significant investment, and a restoration that doesn’t seat passively puts the surgical result at risk.
With more than 20 years in business, our team has supported well over 1,000 implant plans and hundreds of fixed full arch cases. This guide covers what to expect from your lab on a full arch case, from planning through final delivery.
- What Full Arch Dental Implants Actually Ask of the Lab
- Common Issues With Full Arch Dental Implants
- Verification Jigs vs. Photogrammetry
- What Materials Are Best for Full Arch Dental Implants
- Full Arch Implant Workflow, Turnaround & What the Dentist Needs to Send
- Why Partner With Watersedge for Full Arch Dental Implants
What Full Arch Dental Implants Actually Ask of the Lab
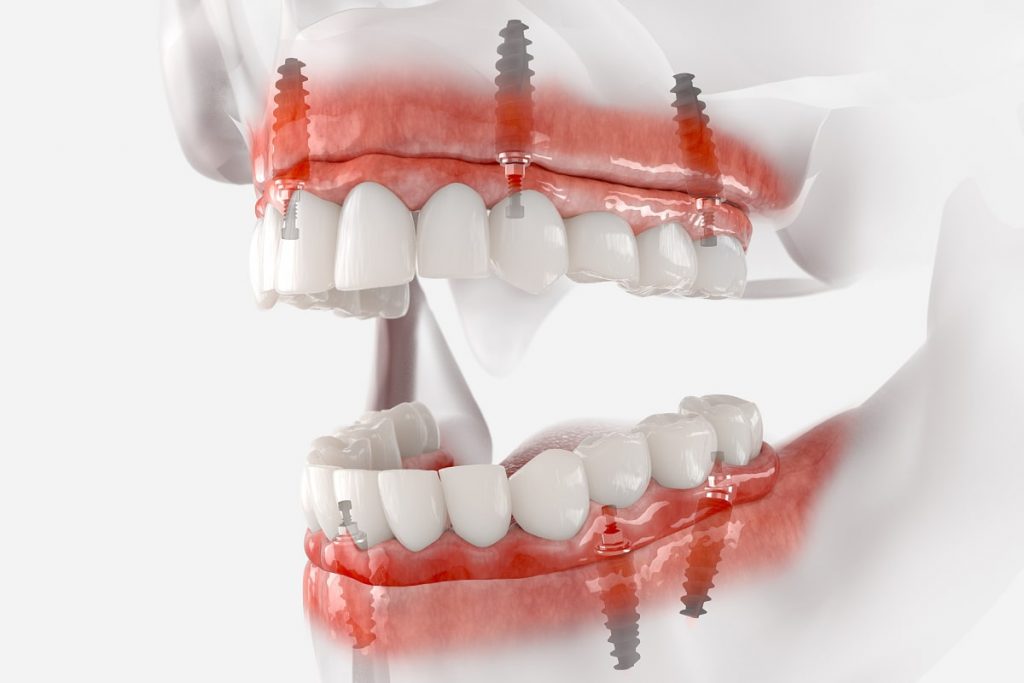
Most full arch restorations are screw-retained on multi-unit abutments (MUAs), which correct angulation and bring the restorative platform to a common level.
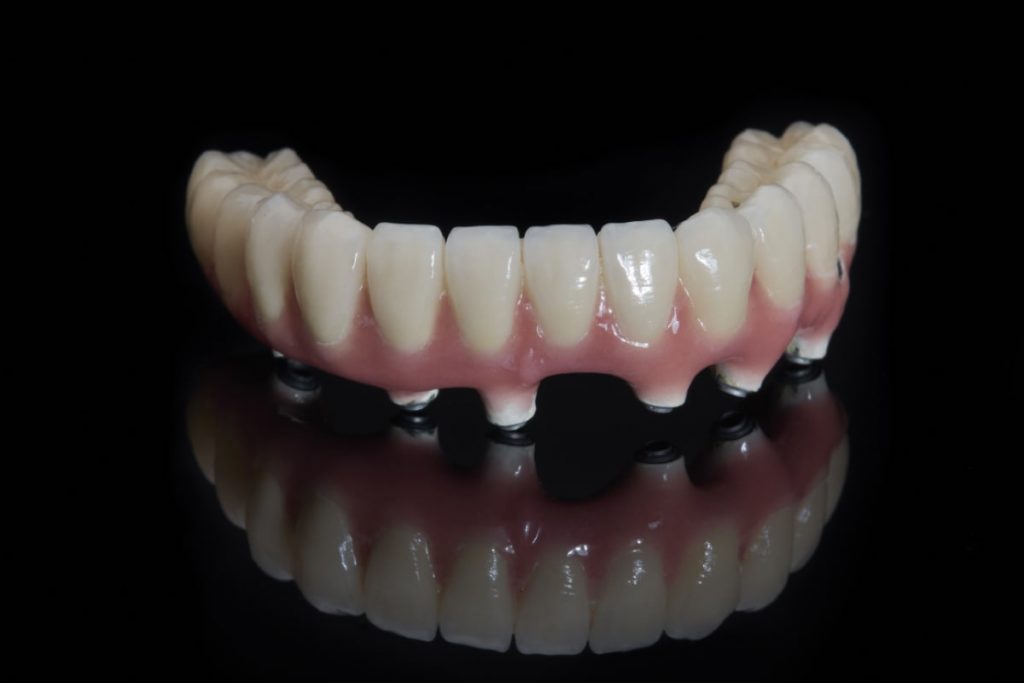
A single implant crown can use an engaging connection. A full arch prosthesis has to seat across four or more angled implants at once, often at different angles, using non-engaging connections with a common path of insertion. Every position has to be captured accurately across a long edentulous span with few landmarks.
On top of fit, the lab must solve for vertical dimension, occlusion, phonetics, hygiene access, and aesthetics in a single appliance. As Shawn Parisien, Laboratory Manager at Watersedge, puts it, “aesthetics don’t matter if it’s not functional.”
Common Issues With Full Arch Dental Implants
Most full arch problems surface weeks or months after surgery, at try-in, delivery, or recall, and each one costs your patient time and your practice chair hours.
Non-Passive Fit & Stress It Places on Implants
Even minor discrepancies in implant position produce a non-passive fit, and screwing a rigid framework on misrepresented implant positions transfers tension to the bone.
This strain can trigger bone resorption and eventual implant failure. An implant lacks the periodontal ligament and nerve of a natural tooth, so the patient isn’t warned when it’s overloaded. This means problems may go unnoticed for months.
Inaccurate Implant Capture Across a Long Span
Traditional impressions and intraoral scans can introduce discrepancies of tens of microns or more between implant positions, and across a full arch, small stitching or distortion errors add up.
The result is a prosthesis that won’t seat at try-in, or worse, one that seats under tension.
Occlusal Discrepancies at Delivery
Zirconia opposing zirconia absorbs far less force than acrylic, so an undetected high spot overloads the implants beneath it with every bite. Over time, that can lead to screw loosening, chipping, or, in the worst case, implant failure and a possible new prosthesis.
This is why we include a try-in before finishing a zirconia bridge, so you can re-equilibrate and send a new bite record.
Hygiene Access & Peri-Implant Complications
Patients with a high smile line often want ceramic or acrylic carried over the ridge to hide the transition. Too much ridge lap blocks cleaning, trapping food near the implants and inviting peri-implantitis, bone loss, and potential implant loss.
These patients need the prosthesis removed and cleaned at least every six months, so we design for easier hygiene by keeping acrylic away from the tissue at the implant connection.
Remakes, Re-Records & Delays They Cause
Many remakes trace back to missing records or a plan that doesn’t quite match what your patient expected, which sends your patient back into a denture or worn transitional and adds more appointments to your schedule.
Shawn recommends presenting at least two options: the ideal and the realistic. Further, he recommends being objective about whether what the patient is hoping for is even possible for the final.
If not, having that conversation and managing expectations early is essential to a positive final outcome.
Verification Jigs vs. Photogrammetry

Both routes exist to confirm implant positions before the definitive prosthesis is fabricated. The difference is how accurate the record is, and how many appointments it takes to get there.
What a Verification Jig Is & Why the Step Exists
A verification jig is a rigid resin framework connecting impression copings or temporary abutments, fabricated on the master model and tried in to confirm the model is accurate. Our verification jigs guide covers the step in detail.
When a Jig Fails: Re-Records & Repeat Visits
If the jig doesn’t seat passively, you take a new record, return the case, and wait for a new jig, sometimes more than once. Each round adds a visit for your patient and a chair slot for your practice.
What Photogrammetry Captures Differently
With photogrammetry, our IMetric ICam system photographs scan bodies on the MUAs from outside the mouth and records implant positions more accurately than intraoral scanning.
In fact, a 2025 study concluded that photogrammetry can remove the need for a conventional verification jig.
That level of accuracy is enough to go straight to the try-in appointment, removing the verification appointment. It applies to MUA cases, which Shawn estimates make up roughly 90% of immediate-load surgeries.
How Photogrammetry & Intraoral Scanning Work Together
Despite its precision, photogrammetry doesn’t replace your intraoral scanner. The ICam records implant positions, while the intraoral scan captures soft tissue contours, gingival architecture, and the opposing arch.
For a more detailed overview, see what photogrammetry is and how it works in dentistry.
Typical Appointments & Timelines Compared
| Feature | Traditional | Photogrammetry |
| Restorative appointments | Six or more | About three |
| Verification appointment | Required | Eliminated |
| Typical time to final | About 7 weeks | About 4.5 to 5 weeks |
| Implant position accuracy | Up to 100 microns of discrepancy | Within 5 microns |
Why a Final-Stage Scan Still Matters
Implants can shift by microns during osseointegration, so a second photogrammetry scan at the final stage builds the definitive prosthesis on current, stable positions.
Here’s more on why dental implants can move slightly.
What Materials Are Best for Full Arch Dental Implants
The best materials for full arch dental implants depend on your patient’s smile line, hygiene, opposing dentition, and budget.
- Removable overdenture on a bar: Best when your patient needs a flange for lip support or a removable appliance for hygiene. The bar splints the implants and keeps attachments parallel, so inserts wear more slowly than on divergent implants.
- Acrylic hybrid (fixed): A titanium bar with acrylic and denture teeth, designed titanium-to-tissue on lower arches for easy cleaning. A fractured denture tooth can often be replaced within 24 hours.
- Zirconia bridge on titanium bases: Highly aesthetic and low profile, but a ceramic chip means removing the bridge and a slow overnight heat soak before repair, typically five to six business days.
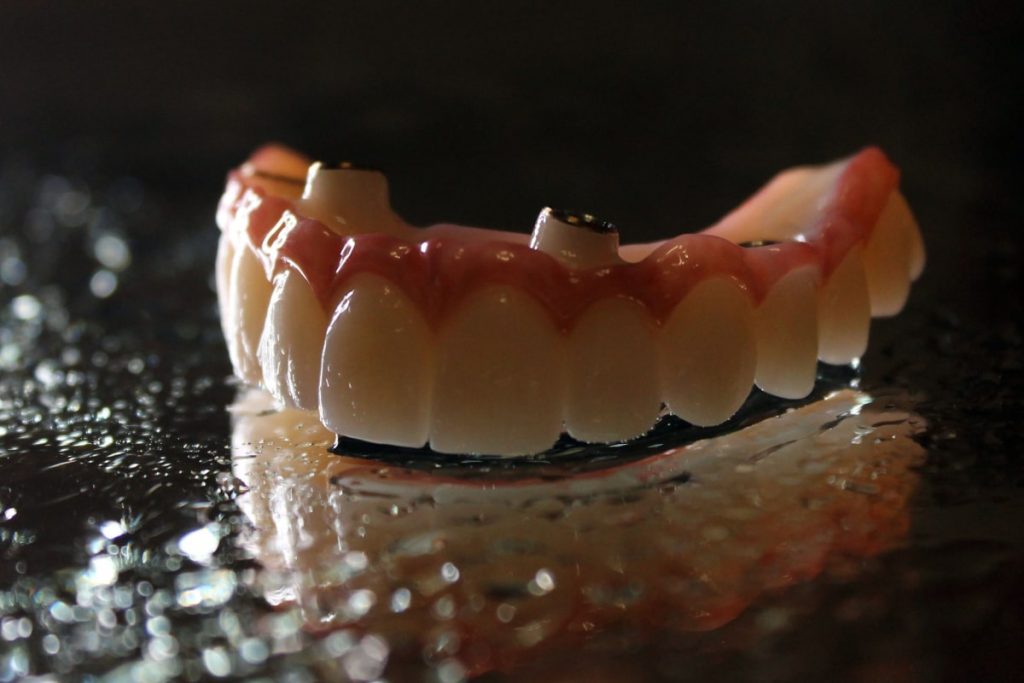
- Zirconia bridge on a titanium bar: Our preferred zirconia option. The bar adds support, and because its design stays on file, we can refabricate and swap in a chipped bridge in about 48 to 60 hours.
For both arches, an upper zirconia bridge with a lower acrylic hybrid puts the aesthetics where they show and adds some force absorption below. For more on zirconia’s properties, see how zirconia compares with e.max.
Full Arch Implant Workflow, Turnaround & What the Dentist Needs to Send
The ideal time to bring us in is before any implants are placed. After the intake, a case moves through three stages.
What We Need at Intake
- The stage of treatment, which arches, and how many implants.
- Your patient’s expectations, and what they’ve been told is possible.
- Impressions or scans with a bite. For partials, records with it in and out. For edentulous patients, records of the arches and dentures, ideally a full denture scan including the intaglio surface.
- Photos: lip at rest, smile, and full high smile, plus profile shots at rest and smiling, each with and without any denture or partial.
Stage 1: Diagnostic & Planning
We build a virtual diagnostic setup from your records, merge it with your CBCT, and plan implant positions backward from the final restoration.
We then review the plan with you in a web meeting, including whether bone quality (volume/density) supports immediate loading, and test your patient’s expectations against what’s possible. Setup and planning take about a week each.
Stage 2: Surgery & Transitionals
We fabricate the surgical guide from the approved plan. For immediate load, we can convert your patient’s denture into a fixed bridge at surgery, provide a PMMA transitional that mounts on the guide for pickup, or capture the implants with photogrammetry for a monolithic printed transitional.
Guides take about two weeks from plan approval, or three with an attached transitional. If doing a two-stage surgical approach, at the uncovering appointment we can load the implants at that time by converting the patient’s denture or by using photogrammetry.
Stage 3: Final Restoration
Once the implants have integrated, the final records are taken through either the traditional impression route or photogrammetry, as compared above. Zirconia cases include a try-in before finishing, and the definitive prosthesis is delivered ready to screw in.
Turnaround
A digital diagnostic setup takes about a week, and implant planning about another week. Surgical guides need roughly two weeks from plan approval, or three if the transitional is attached to the guide for pickup.
Service Options
We can handle the full workflow, provide the scan and design files for practices that print in-house, or capture the photogrammetry record only for practices with their own design capability.
Why Partner With Watersedge for Full Arch Dental Implants
Full arch cases run through our in-house digital workflow: full-time CAD/CAM designers, precision milling, and 3D printing.
When Health Canada approved the Imetric’s ICAM for full restorative use in late October 2025, Watersedge secured one of the first six ICam units in Canada, and our technicians observed live cases at established labs before treating patients.
Our trained technicians now travel to clinics to scan and support your team chairside.
Our vehicle fleet delivers across the Ottawa area, from Manotick to Gatineau and Carleton Place to Rockland, and we coordinate multi-case days for practices farther out. We’re also available for pre-treatment consultations with you and your surgeon on case suitability.
Predictable Full Arch Restorations Start With Watersedge
Full arch dental implants succeed when surgery, records, and restoration are planned together. Accurate capture protects the surgical result, a passive fit protects the implants, and fewer appointments give time back to your chair.
If you’re planning a full arch case, we’d love to be part of the conversation. Partner with Watersedge to discuss your next case.